Product Durability Testing Without a Lab That Still Works
 TBH Editorial
A prototype surviving one lucky drop proves almost nothing. Products fail in patterns, not in anecdotes.
If you’re a founder, product manager, or small brand, you don’t need a full lab to spot weak points early. You do need a repeatable way to stress the product, record what happened, and learn from it. That’s what good product durability testing looks like when you’re working from a workshop, office, or spare room.
TL;DR: Start with the failure that would hurt most, then build small, repeatable tests around it. Drops, flex, wear, moisture, and packaging checks can reveal a lot, if the setup stays consistent and your notes are honest.
Start with the failure that matters most
The biggest mistake is random torture. People shake a sample, drop it once, call it “tested”, then act surprised when customers break it in a week.
Start with context. How is the product held? What gets pressed, bent, twisted, scraped, or dropped? Does it live in a hot car, a damp kitchen, a delivery van, or a backpack with keys? Broadly, most durability work falls into mechanical, environmental, and accelerated checks, which Stanford Advanced Materials explains clearly.
A simple test plan beats a fancy setup every time. Before you touch the product, define what counts as failure. Is it a crack? A loose hinge? A button that sticks? Water getting past a seal? Cosmetic damage matters less than function, unless your buyers are paying for premium finish.
This quick map helps keep the work grounded:
| Test type | What it simulates | Basic kit |
|---|---|---|
| Drop and shock | Falls during use or handling | Tape measure, hard floor, phone camera |
| Flex and load | Handles, clips, hinges, straps wearing out | Luggage scale, weights, tally counter |
| Abrasion and rubbing | Pocket wear, shelf wear, repeated contact | Cloth, abrasive pad, fixed pressure |
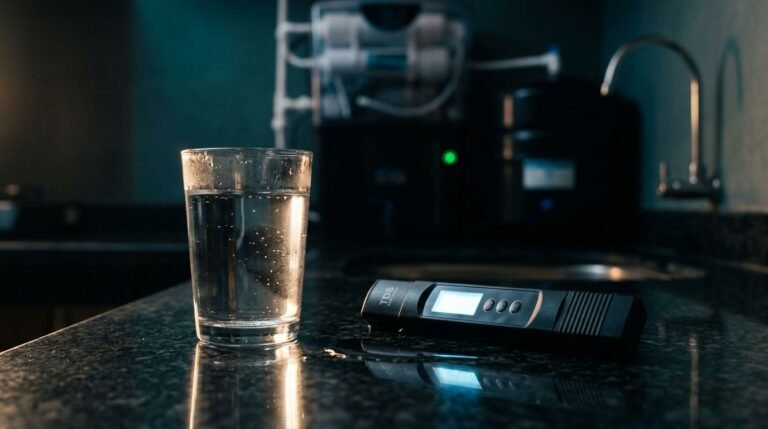
| Moisture and humidity | Bathrooms, kitchens, rainy delivery days | Plastic box, wet sponge, hygrometer |
| Packaging drop test | Courier handling and stacking | Final pack-out, measured heights, notes |
The point is not to mimic a standards lab perfectly. The point is to find the likely failure first, cheaply and early.
Use more than one sample if you can. Three is better than one. Five is better than three. If only one unit fails, that might be a bad build. If all three fail at the same point, you’ve found a pattern.
One more thing. If failure could injure someone, skip the garage heroics and use accredited testing. This article is for learning fast, not for replacing safety or compliance work.
Run mechanical tests you can repeat
Drop tests that tell you something
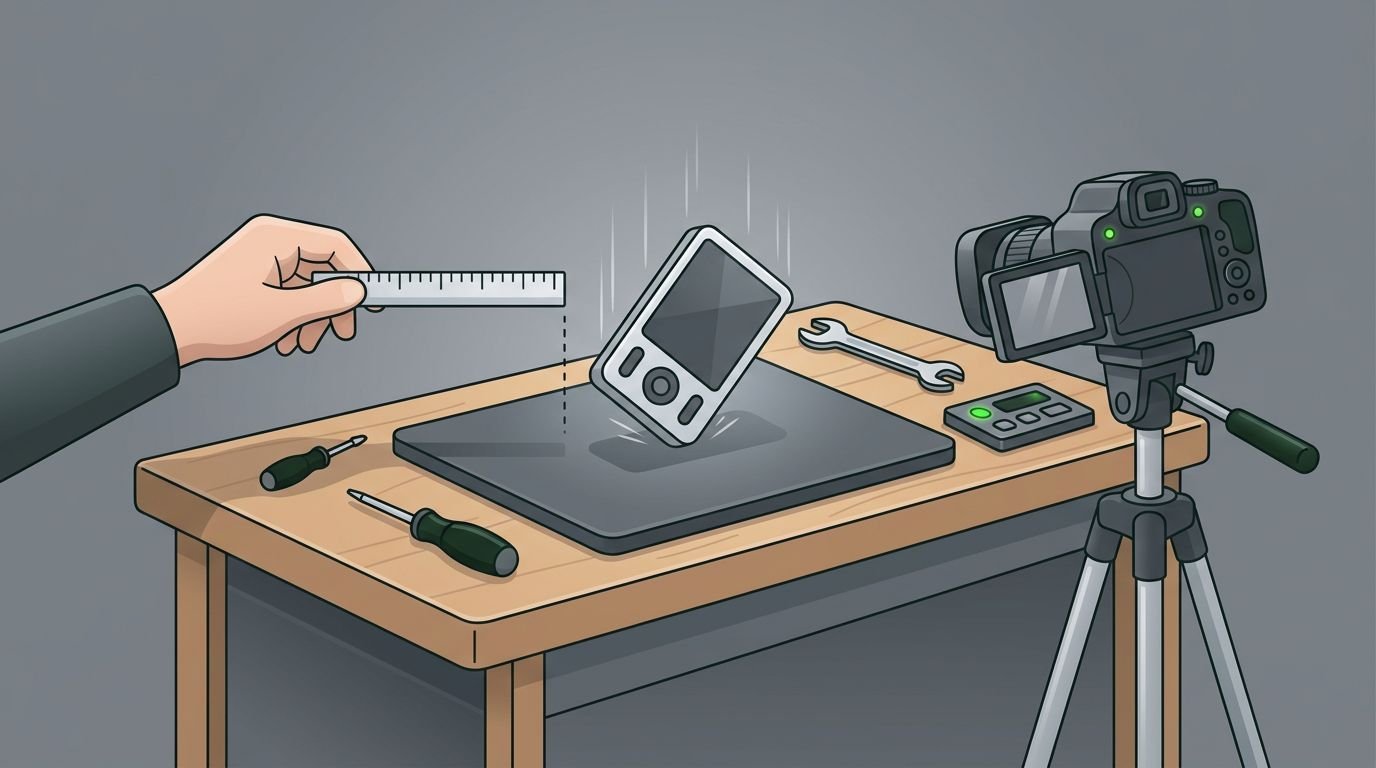
A drop test should look boring. Same height, same surface, same orientation, same packaging, same camera angle. Boring is good. Boring gives you evidence.
Start with real-world heights. A handheld item might fall from 1 m to 1.2 m. Something used on a desk might need a 75 cm test first. If the product ships, test it packed exactly as a customer receives it. This DIY packaging testing guide is useful for thinking through drop heights, edges, corners, and repeated handling.
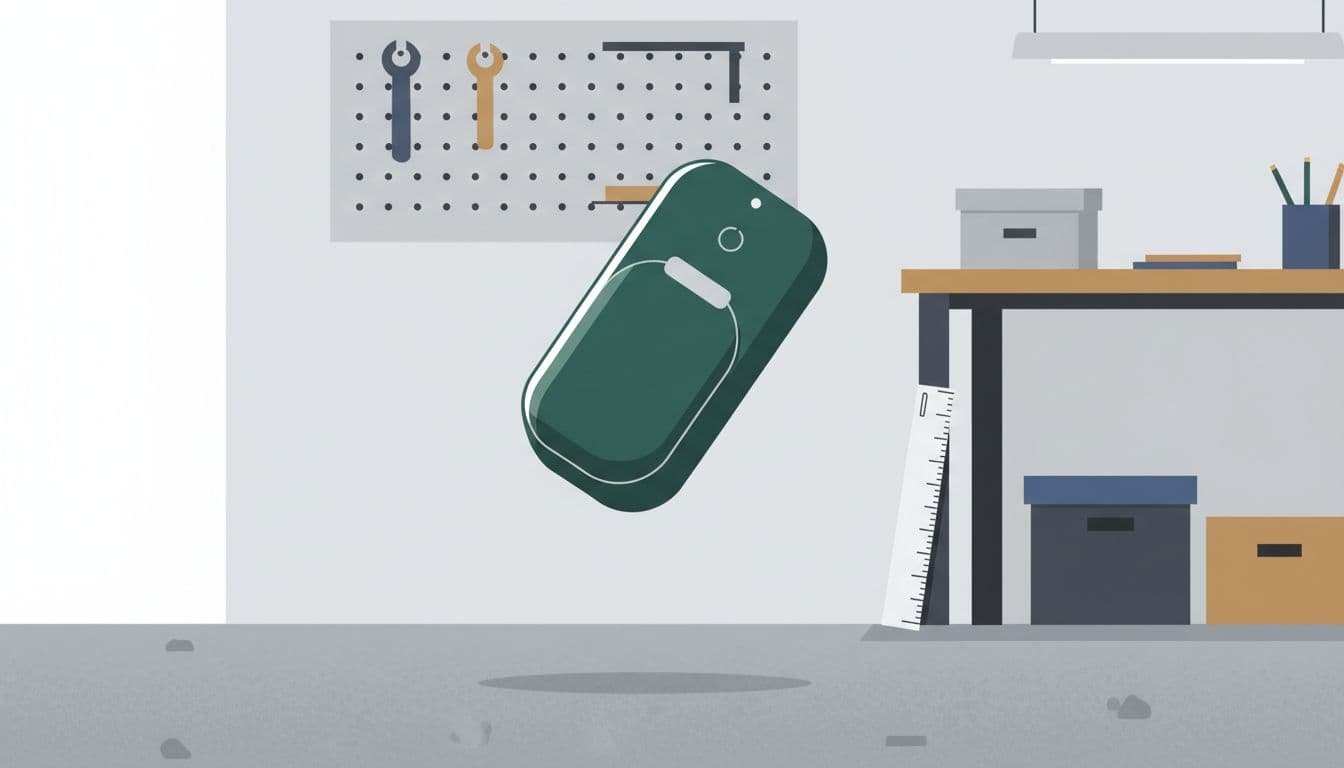
Change one variable at a time. Don’t switch height, surface, and orientation in the same round or your result becomes mush. Run flat-face drops, edge drops, and corner drops separately. Corners are often where the truth lives.
“Passed once” is a story. “Passed 20 drops at 1 m onto concrete, corner-first on sample B3” is data.
Flex, twist, and load tests
Many products don’t die in one dramatic moment. They die from fatigue. A strap anchor starts to creep. A hinge gets sloppy. A clip loses spring. A joint opens by half a millimetre, then keeps going.
You can test a lot of this with simple tools. The idea in this 3D print strength test guide applies well beyond 3D prints: use measured loads, keep the setup fixed, and record the failure point rather than guessing.
A repeatable flex or load test is simple:
- Fix the part in the same position every time.
- Apply the same force or weight for the same duration.
- Check the part every 25 or 50 cycles.
- Stop when you see permanent deformation or functional loss.
Count cycles with a tally counter or phone app. Use a luggage scale if you’re pulling on a handle or connector. If two different people get wildly different outcomes, the method is too loose. Tighten the setup before you trust the result.
Simulate wear, water, and weather
Customers don’t treat products like museum pieces. They rub them, spill on them, jam them into bags, leave them by a window, and forget them in hot cars. Your testing should reflect that.
Everyday wear is slow, but revealing
Repeated use simulation looks unimpressive, and that’s why it works. Open the latch 500 times. Press the button 2,000 times. Twist the cap, rub the finish, slide the part, clip and unclip the fastener. Keep the motion, angle, and pressure as consistent as you can.
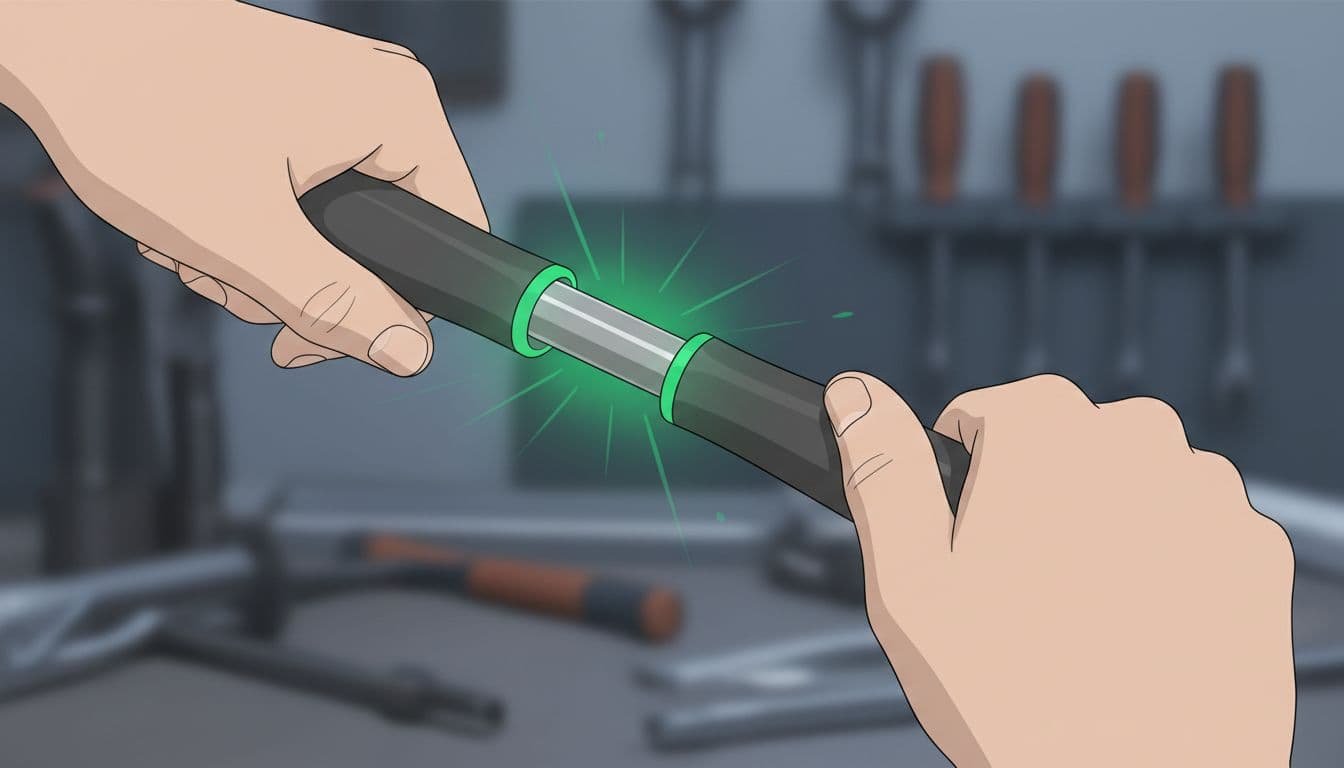
For surfaces, controlled abrasion is useful. A rough pad, cloth, or standardised rubbing motion can show whether paint, coating, or texture wears too fast. The logic is similar to how Reviewed measures wear and tear: don’t rely on vibes, rely on repeated mechanical action and visible scoring.
If your product uses fabric, coating, or water resistance, use measured water and a repeatable spray pattern. This DIY water repellency test is a good example of keeping volume, angle, and observation consistent.
Wear testing is where weak materials get exposed. So do bad tolerances. A cap that feels fine on day one can become annoying fast after 100 cycles.
Heat, cold, and humidity expose hidden weak spots
Moisture and temperature changes punish adhesives, seals, coatings, batteries, and cheap plastics. You don’t need climate chambers to learn something, but you do need restraint.
A sealed plastic box, a wet sponge, and a hygrometer can form a basic humidity chamber for non-hazardous items. Predictable Designs shows a simple version, and the idea is sound for early checks.
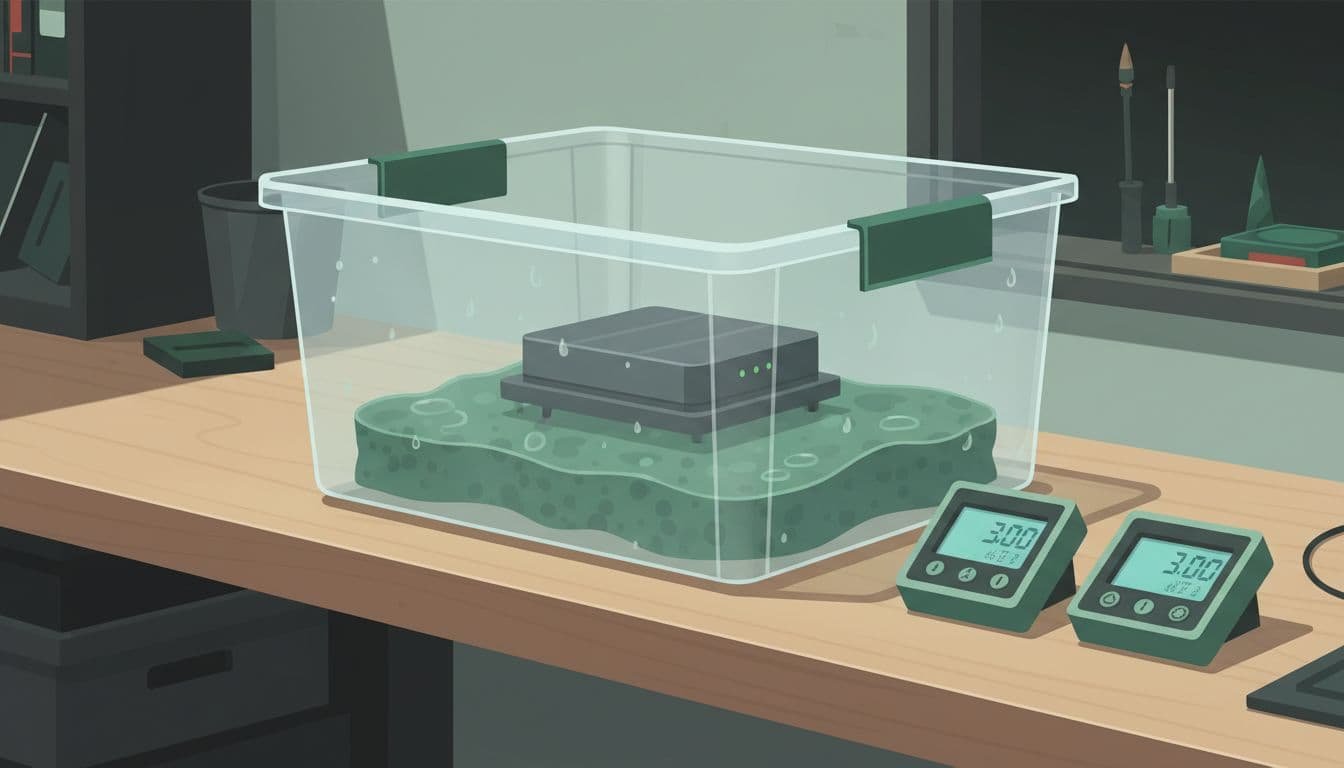
Run short exposures first. Check fit, finish, button feel, fogging, corrosion marks, and any shift in performance. Then combine stress carefully. Humidity followed by repeated button presses often tells you more than either test alone.
Keep the safety line bright. Don’t heat lithium batteries in improvised setups. Don’t put electronics in ovens. Don’t fake an IP rating from a plastic tub and a prayer. Early no-lab testing is for spotting weakness, not for making compliance claims.
Turn rough tests into decisions
Bad notes waste good tests. If version A and version B can’t be compared cleanly, you’ve collected noise.
Use one sheet for every sample. Record build version, material, assembly date, test condition, cycle count or drop height, and exact failure mode. Take photos from the same angle and distance. A simple 0 to 5 damage score helps when changes are gradual rather than catastrophic.
Keep your pass and fail rules tight. “Looks okay” is not a rule. “No cracks longer than 2 mm, latch still closes, and finish wear score under 2 after 500 cycles” is a rule. That level of discipline is what makes small-team product durability testing useful, not the price of your tools.
Then link the test back to the customer problem. A cracked case matters if it stops the product working, lets in moisture, or kills trust. A scuff on the underside may not matter at all. Don’t waste time fixing failure modes no customer will notice, whilst ignoring the one that drives returns.
When should you pay for proper lab work? The answer is easy. Do it when safety, compliance, legal claims, or retailer requirements are involved. Also do it when your home testing keeps producing mixed results. DIY methods should narrow the blind spots and save time, not replace formal validation where it counts.
Final thoughts
A full lab gives precision. It doesn’t give common sense. You can catch a surprising number of weak points with measured drops, fixed loads, repeat cycles, moisture exposure, and brutally clear notes.
The best no-lab testing is not flashy. It’s repeatable. That’s what turns a prototype into a product you can trust, and what stops customers from paying for your learning curve.
That same habit matters outside product development too, backing practical work that holds up in the real world. If that idea speaks to you, you can Contribute to Active Missions.